Propagating tips
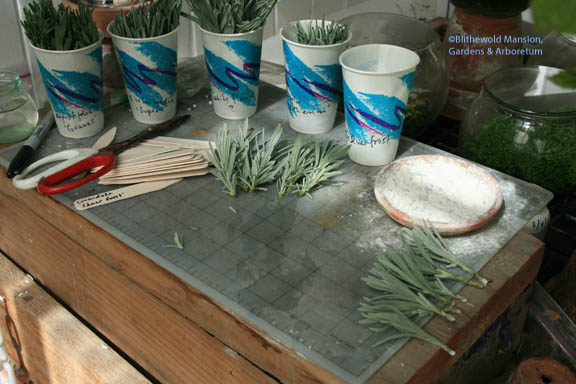
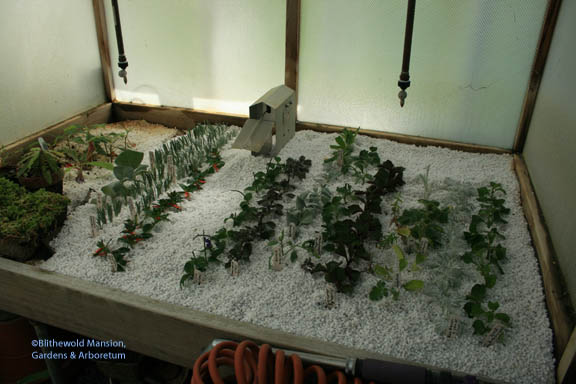
It’s time to think about next year’s garden. (When isn’t it time to think about next year’s garden?!) Last week Gail cleaned out the cutting bench, filled it fresh with new perlite and we’ve both started hoarding plants for next year’s garden. Even into my 5th year here, I still don’t feel that confident about propagation. I’m amazed when my seedlings germinate and a little bit astounded when a cutting takes root. But tip cuttings are so easy (Gail makes it look so easy, anyway). You just have to learn by feel what kind of growth to look for. Now that I’m starting to get the hang of it, I’ve gotten greedy – if a plant is loaded with perfect cuttings, I have to be careful not to want to take them all (we don’t have that kind of space)!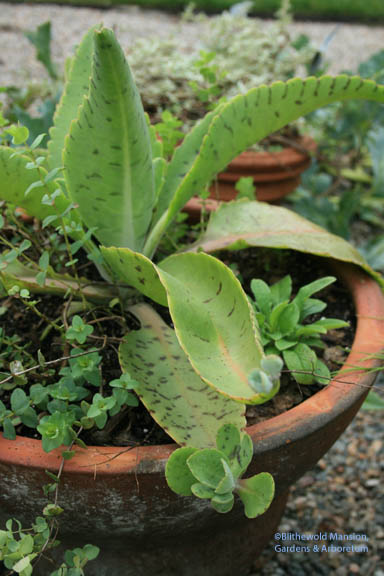
Plants have built in cellular level mechanisms for survival and reproduction. Some plants will root if the stem touches the ground; some will put out roots and shoots if there’s a mere hint of a whisper of the soil nearby. I can imagine the potted succulent (left) leap frogging in all directions if we only gave it the ground. Plants have certain cells that wait for hormonal direction before becoming whatever the plant needs for new growth. To make new plants, we just have to trigger those cells to make roots.
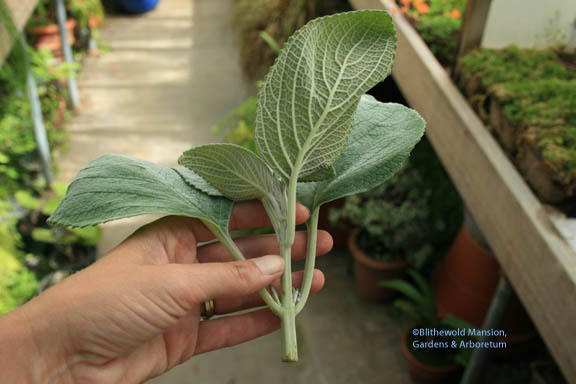
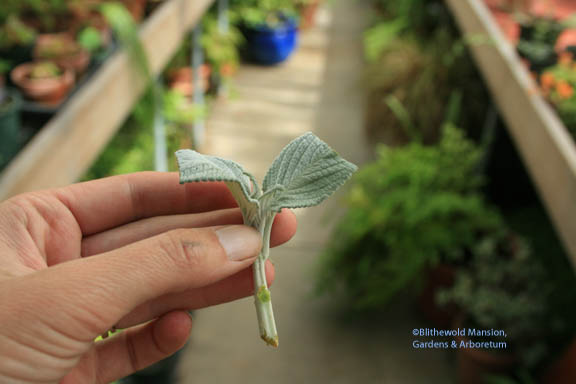
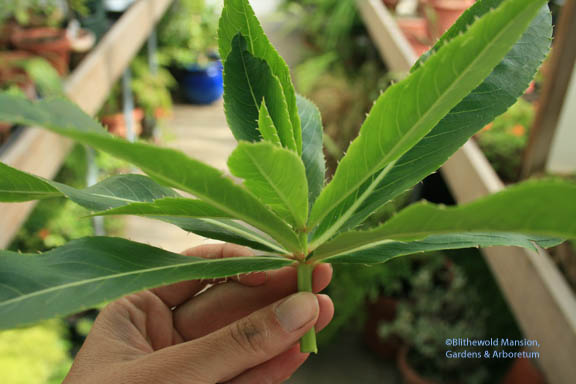
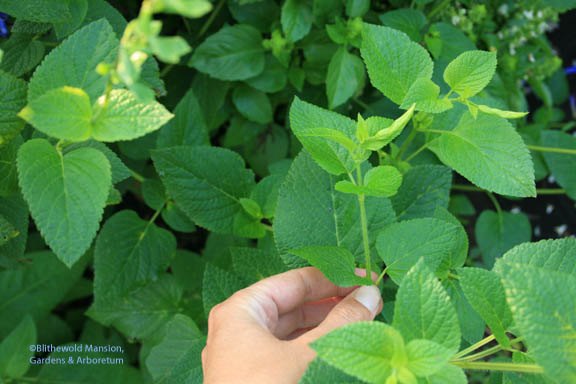 Step one: Fresh as a daisy in the morning before plants have transpired the day’s water away, choose a growing tip that is neither so wimpy that it will keel over, nor so sturdy that it’s brittle and woody feeling. Shoot for fat, green, flexible growth preferably before it has set a flower bud. Remove it from the plant using snips or a knife and place it in water or a baggie until you’re ready to root it.
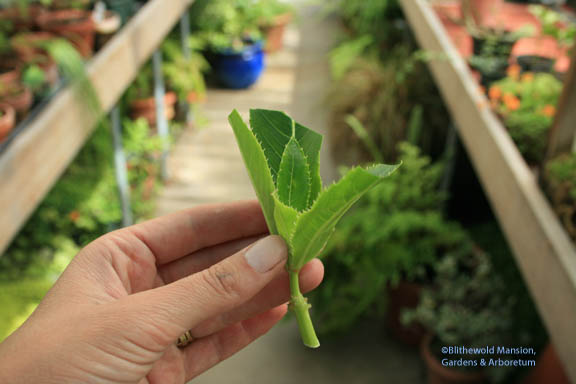
Step 2: Make a clean cut below about two sets of leaves. Using a sharp knife or scalpel, remove the lower set of leaves right at the stem being careful to not damage the stem. This is where those versatile cells live. Cut the remaining sets of leaves by a third or half to restrict transpiration and cut flower buds off to force energy to the roots.
Step 3: Dip the end of the stem in rooting hormone – this gives the plant’s own auxin a fake auxin boost. We use the kind that includes a fungicide. Don’t lick your fingers after this point in the process.
Step 4: Plant the cutting in a rooting medium like sand (again, we use perlite) with the cut nodes below the surface. Place the cuttings in a bright light spot and keep them moist.
Step 5: Wait.
But don’t just take it from me. There are beautiful books (Making More Plants by Ken Druse is the prettiest instruction manual I’ve ever seen. – Check it out in my Amazon link on the left.) and there are plenty of websites with a lot of detail if you want to learn more about the process.
Do you take cuttings? Do you bring favorite plants in for the winter in case your cuttings don’t take? Do you think it’s all too much trouble and shop for new things in the spring instead?

